
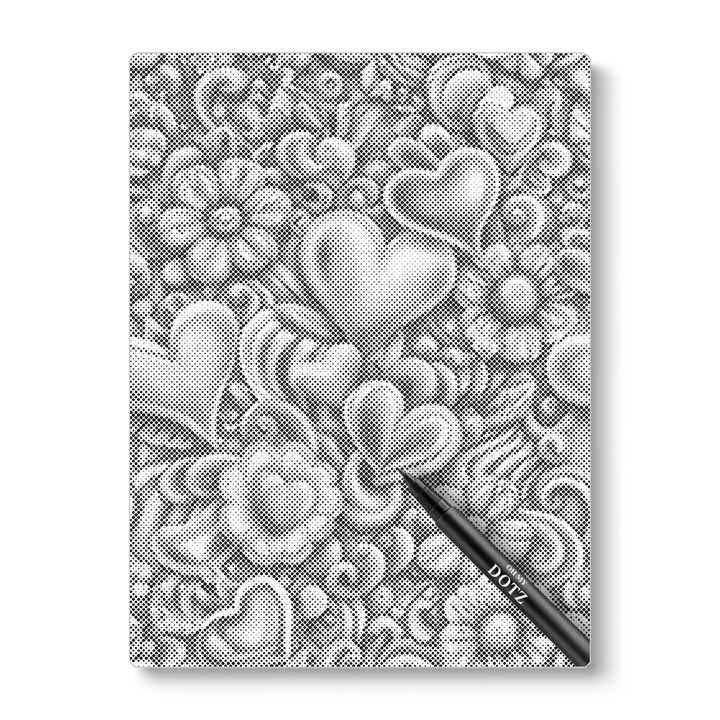
Stippling drawing is a timeless technique that turns thousands of small dots into rich, detailed images. Artists have used it for centuries to create shading, texture, and depth without a single continuous line. What makes it so fascinating is the illusion it creates. From up close you see a scattering of individual marks, but from a distance those marks blend into smooth tones and lifelike forms. It is a patient, rewarding art form that anyone can learn with a steady hand and a little dedication.
Understanding the Basics of Stippling
At its core, stippling relies on density. Where you place dots close together, the area appears dark. Where you spread them out, the area appears light. By carefully controlling how tightly your dots sit next to each other, you can produce shadows, highlights, and everything in between. This simple principle is what gives stippling its remarkable range.
Traditional stippling drawing is done with a fine pen on paper, but the same logic applies beautifully to painted dots on stones, canvas, and other surfaces. The tools may change, yet the goal stays the same. You are using points of contrast to shape an image that feels alive.
Why Stippling Appeals to So Many Creatives
Stippling has a meditative quality that draws people in. Because you work one dot at a time, the pace naturally slows down. There is no rushing and no need for dramatic strokes. Instead you settle into a calm rhythm that many find deeply relaxing after a hectic day.
It is also incredibly forgiving. If a shaded area looks too light, you simply add more dots. If you want a softer edge, you spread your dots further apart. This gentle, buildable approach means you always stay in control, which is reassuring for beginners who worry about making permanent mistakes.
Then there is the sheer wow factor of a finished piece. A completed stippled portrait or landscape looks astonishingly detailed, and people are often amazed to learn it was made entirely from dots. That sense of accomplishment keeps hobbyists coming back for more.
The Tools You Need to Begin
For classic stippling drawing you need little more than a fine tipped pen and quality paper. Pens with different nib sizes let you vary your dot size, which adds subtlety to your shading. If you prefer to work with paint, dotting tools and acrylics open up a whole world of colour and texture.
Many people enjoy combining both worlds. They sketch a light outline first, then fill it with careful stippled dots. Whatever your preference, starting with a few reliable supplies makes the learning curve much smoother. You can explore beginner friendly Stippling drawing sets and inspiration from Ohmydotz.com, which help you skip the guesswork and focus on the fun part.
A Simple Way to Practise
Begin with a basic sphere. Draw a light circle, then decide where your light source is coming from. On the side furthest from the light, place your dots close together to create shadow. As you move toward the lit side, gradually spread the dots apart until they almost disappear. When you step back, the flat circle will suddenly look round and three dimensional.
This single exercise teaches you almost everything you need to know about value and contrast. Once you master the sphere, you can apply the same thinking to leaves, faces, animals, and full scenes. The principle never changes. Dense dots mean dark, sparse dots mean light.
Growing Your Skills Over Time
As you gain confidence, you can experiment with layering colours, blending multiple tones, and tackling larger compositions. Some artists spend many hours on a single detailed piece, enjoying every quiet moment of the process. Others prefer quick, playful designs that they can finish in an afternoon.
You might also try mixing stippling with other dot based styles. The techniques share so much common ground that skills transfer easily. Ohmydotz.com offers a wide range of resources for hobbyists who want to keep developing, whether that means new tools, fresh ideas, or custom projects that celebrate a personal memory.
Tips for Beautiful Results
Keep your dots consistent in size within each shaded area, as this creates smoother tones. Work slowly and resist the urge to fill space too quickly, because gradual build up gives the best depth. Take regular breaks and view your piece from across the room, since distance reveals how your tones are reading. Above all, be patient with yourself. Stippling rewards calm persistence far more than speed.
Final Thoughts
Stippling drawing is a wonderful reminder that patience and simplicity can produce extraordinary art. With just a pen or a dotting tool and a willingness to take your time, you can create images full of depth, texture, and character. It soothes the mind, sharpens your focus, and leaves you with work you can be genuinely proud of. If you have ever wanted a creative outlet that is both calming and impressive, give stippling a try and watch your dots come together into something beautiful.